Good Morning Class ~
Today I will teach you all how to setup you Maill app in you Mac to receive mails from web based Hotmail and Yahoo accounts. Please make use you are ready with the following stuffs before we continue the class.
1. A Mac machine, let it be Macbook Pro or MacBook or mini or iMac or Mac Pro .....
2. Internet connection, in order to connect to the internet ... duh !?
3. Coffee or Tea for that " Downloading mails ...."
Ok, I presume you have all the above, let's start the class already. I'll start with HotMail first, or maybe not, since I've covered that long time ago. If you've missed the class, you can re-do the assignment here, and here .

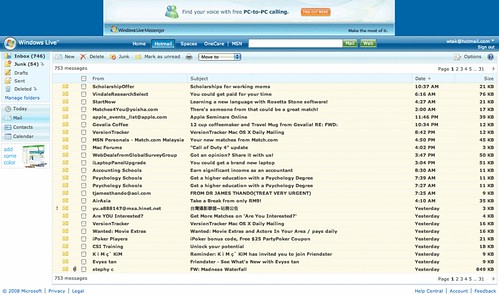
Now I continue with Yahoo mail.
First of all Close your Mail software if it's running, we don't need it yet. Then download the software call MacFreePOPs. It's still a Donationware where you can use the software for free still, just that it will have a pop up windows ask for donation everytime you start the software. So just go and download the software and install to your Mac.
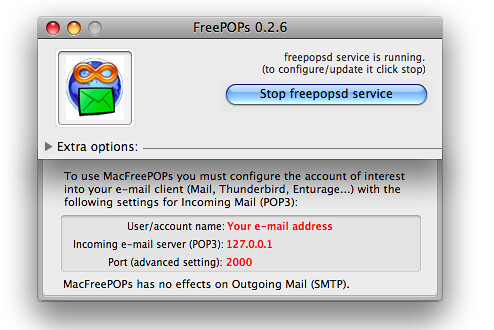
Then launch MacFreePOPs:
1. Update the software with the latest Plug-In. Don't panic, you'll see a big big UPDATE button once the software launched.
2. Switch to freepopsd tab and check the boxes accordingly.
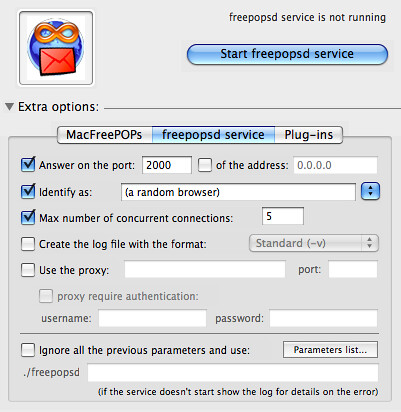
3. Remeber those words in RED, which is what to enter for you Userame/Passward, Incoming server, and Server Port.
Break for 5 mins, I go smoke first ....
Tik Tak ... Tik Tak ... Tik Tak ...
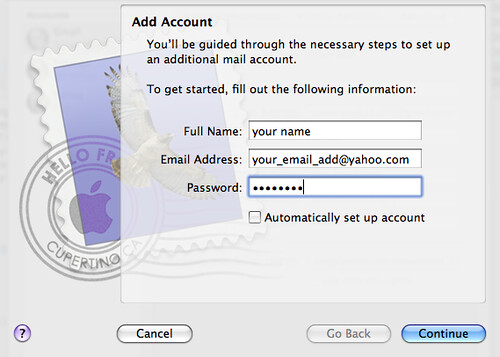
Back ! Let's continue with Mail Setup, open up your Mail App. Then add an account.
1. Enter your name, your Yahoo email address and password. And uncheck the "Automatically setup Account". And Click next ... Can I skip the " Click Next" ah ? Coz it quite obvious that you will have to " Click Next " after filling in the blanks right ? So no more " Click Next " from next step.
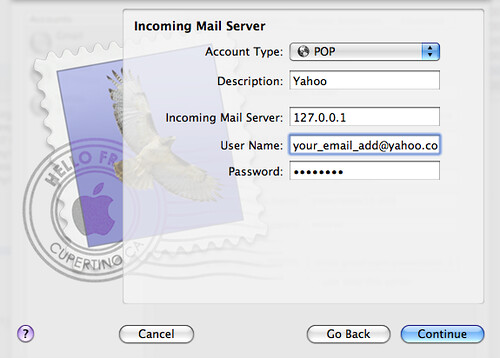
2. Put a name for this Account, you can put Yahoo lah, Yahoo Mail lah, Mail Yahoo lah, up to you. And the Incoming Server ah, make sure it's : 127.0.0.1 , don't ask me why, just do as I say. Then username is your FULL email address, and you password.
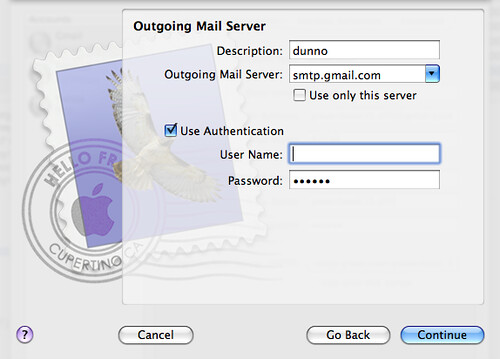
3. For the OutGoing, don't bother, coz you can only RECEIVE mails, not sending. So just put what ever you want here.
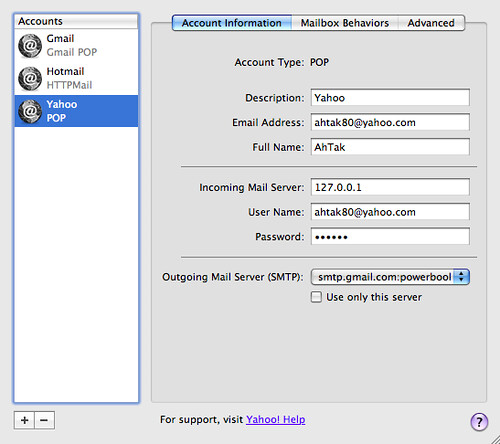
4. Then go to your Mail and open up Preferences -> Accont and check again everything is entered correctly.
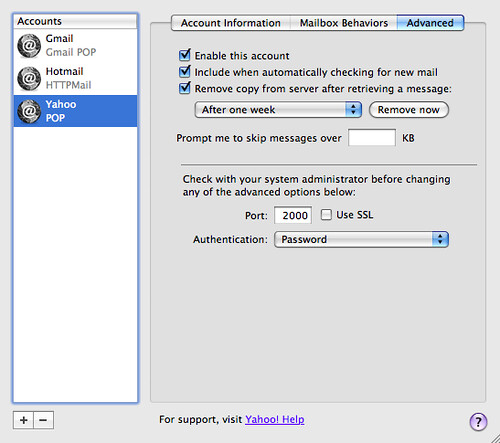
5. Click on the Advanced tab and change the port to 2000
Voila ~~~
End note: Try to do this ( downloading the mails ) with fast internet connection, as there might be alot of mails to download ( I am downloading 4000++ pieces of mail. If you are using dial up, forget it; if you are doing this at Starbucks, forget it also.
5 Comments:
Subscribe to:
Post Comments (Atom)

sad...